DIY an inexpensive way to hang posters and prints

If you’ve tried to buy a frame for a large poster-sized print lately, you know how frustrating it is. Nice frames that size are ridiculously expensive. Other frames are less ridiculously expensive, but look cheap. Just tacking or taping the posters to the wall gets old once you’ve graduated from college dorm walls. I have a ton of large movie posters I want to hang in my home, but they aren’t hanging yet because framing them is a big investment.
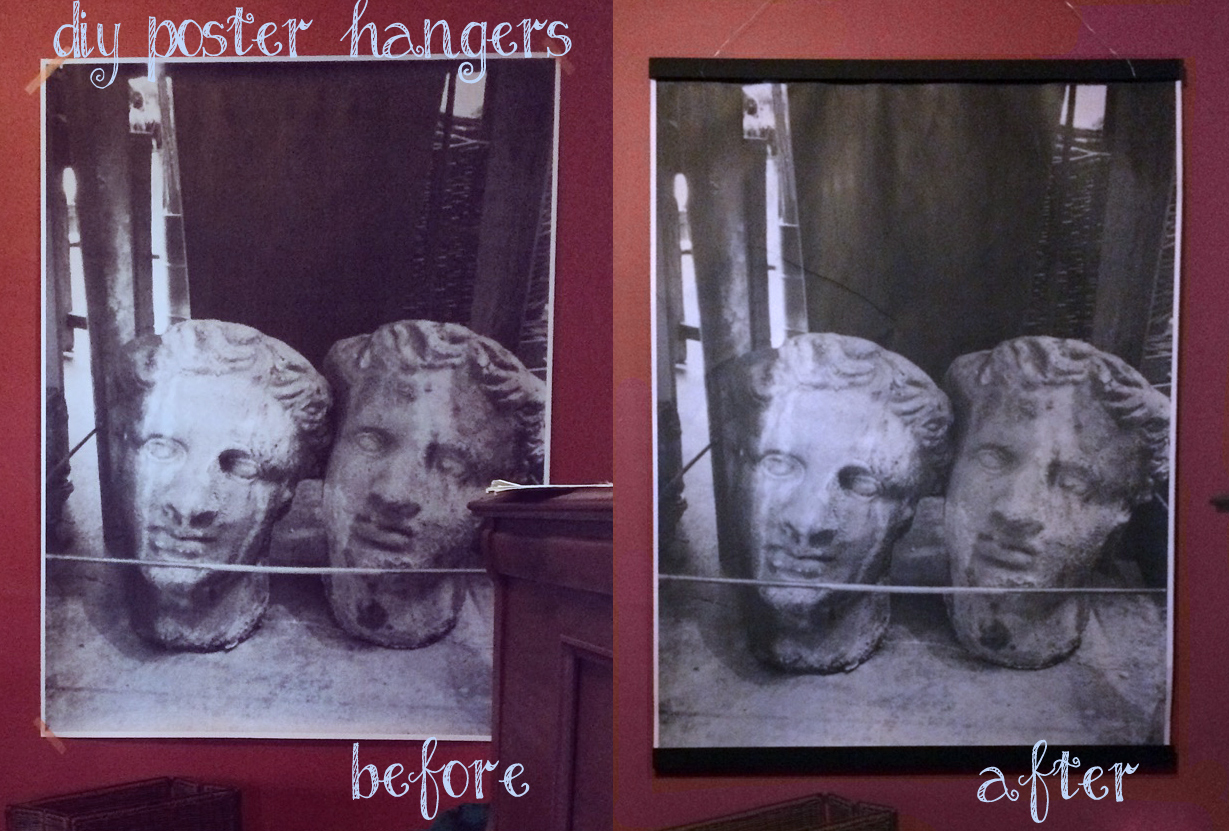
Then, for Christmas this year, I received a gift card to Parabo Press (thanks, Dave!) where they will print poster-size “engineer prints” from your photos. I ordered one from an Instagram photo, and was pretty happy with the print itself:
But… as you can see, it’s just taped to the wall there with washi tape, and that was not going to be my long term solution. I had to find something else.
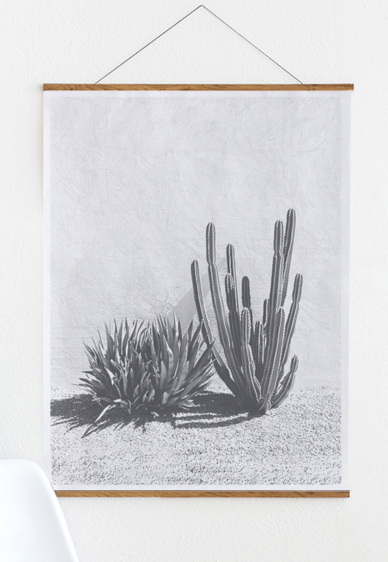
And it came to me. The rails are basically just wood strips and magnets. Surely I could make my own. (Sorry, Parabo. I love yours! But I just can’t swing that purchase right now. Someday, though!)
The print is 36″ wide. What else is wooden and 36″? (I know it sounds like a setup for a bad joke… but, no.) Yep. A yardstick. And yardsticks are $0.97 at Home Depot. A pack of 8 magnets (1/2″) is about $3. For this, I needed two packages of magnets and four yardsticks, so the entire project is about $10. (I already had the paint I wanted, wood glue, and clamps to hold it together while the glue dries. If you don’t have those things you’ll need to spend a bit more, but then you’ll have supplies for multiple projects.) So off to Home Depot it was.
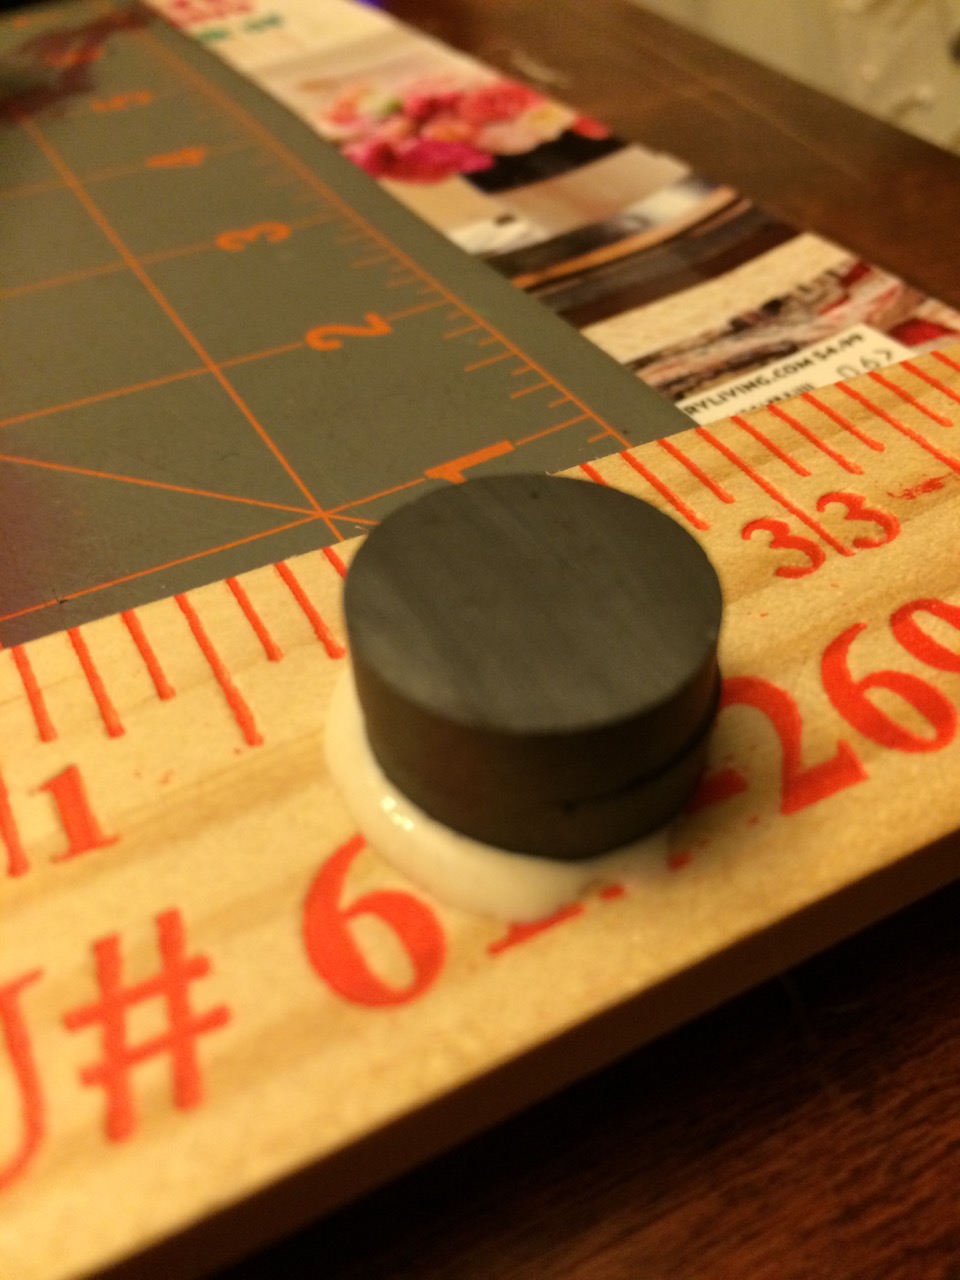
Space them out evenly. You will probably find you need more magnets for the top piece than the bottom, since the top rails have to hold up the weight of the print and the bottom rails and magnets. I used 12 total magnets on the top (might have been overkill, but after I had the print fall down a few times with my original four-magnet version, I was being extra careful) and four on the bottom, which works well. But your mileage may vary, depending on the magnets you get, the weight of your yardsticks, and the weight of the print.

In theory, you probably don’t need a rail to go on the back of the print at all — just the magnets. But I didn’t try that.

Once that’s done, you can take them out of the clamps, and try them out! One rail goes on the front of the print, and the other on the back, with the paper in between the magnets.


They seem to work fine. But I don’t want them to look like Home Depot yardsticks. (On the other hand… vintage yardsticks could look very cool for this project!) I decided to paint mine. I have tons of paint around the house, but I ended up settling on Rustoleum black chalkboard paint. (I love this stuff.) Not because I plan to write on the rails, though I guess for some prints that might be a fun idea. No, because this paint has a wonderful deep velvety matte black color. The matte look will hide some of the flaws in the yardsticks, and the deep black tone will look good with my print. Of course, you could use all kinds of interesting colors, or metallic, or whatever you like.
The result? Voila!
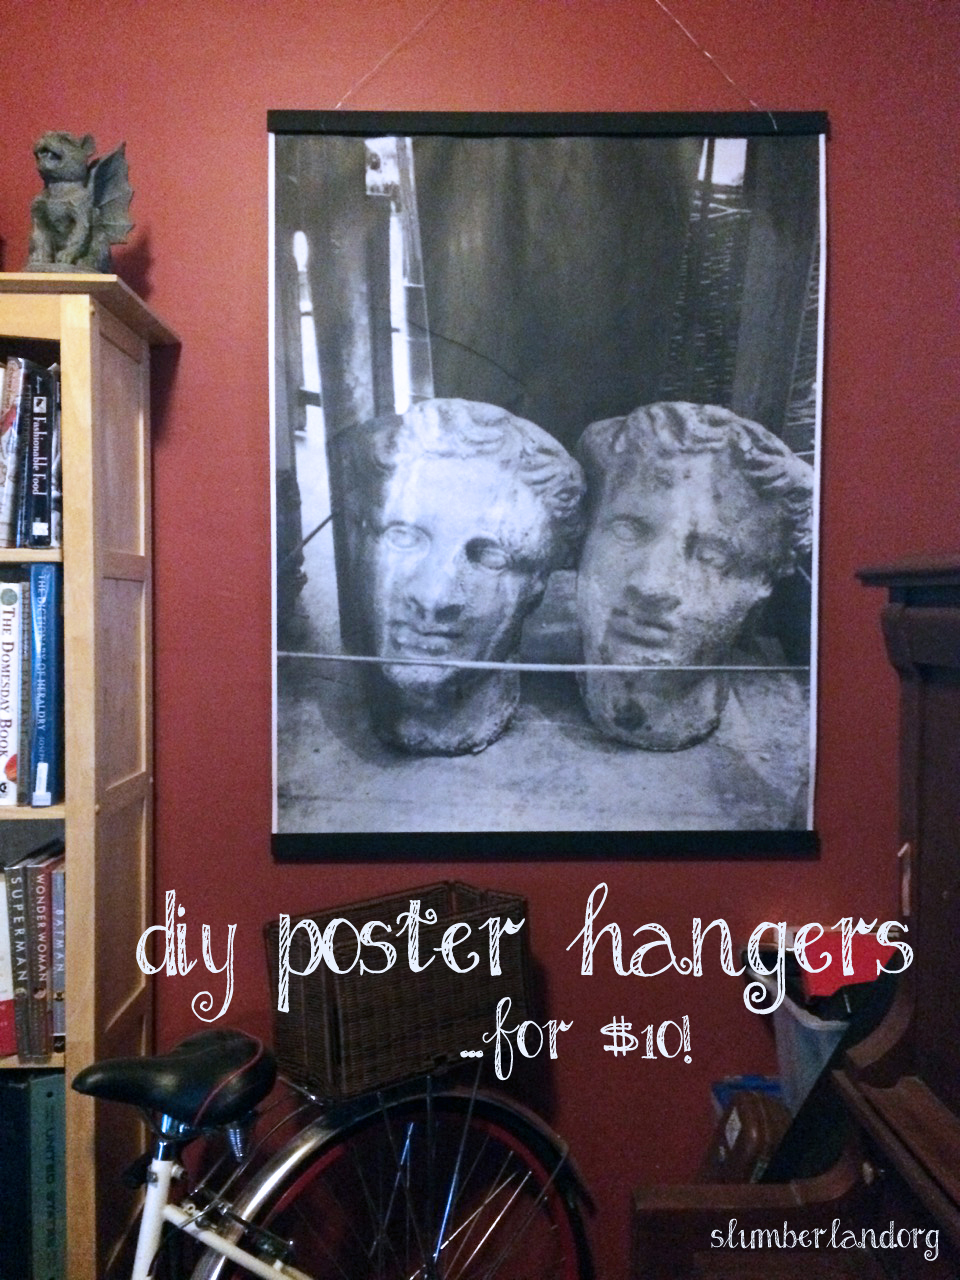
I tied picture wire around the front rail on top, and hung the whole thing from a picture hook. (My old house has “picture rails” in the moulding so that I can hang pictures from that rail and never have to poke holes in the wall.) The wire is temporary until I decide if I’d rather use something that looks nicer. But the wire doesn’t stand out, so it’s not a bad option.
I’m very happy with the way this turned out. The Parabo Press ones are nicer, but until my budget allows me to buy those, I think this is fine. I have a ton of large movie posters that would be terribly expensive to frame, as well as some other slightly smaller posters that are odd-sized. If I can use this technique, I can get a lot more of the posters hanging in my home. I’m looking forward to it!