Project: Chalkboard stairs
I have a stairway that goes up to the attic level of my house (that’s where my bedroom is, though originally the attic was unfinished.) The stairway was last painted some decades ago with boring gray floor paint. The walls are dingy “landlord white.” I’ve meant to do something with the stairway for 18 years, but was never sure exactly what. Bright colored steps? Dark? Wood-finish? And what to do with the walls?
I spent a lot of time looking for ideas and inspiration. I made a Pinterest board that currently contains 244 pins of interesting staircases. But the solution to the stairway eluded me.

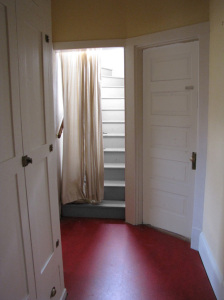
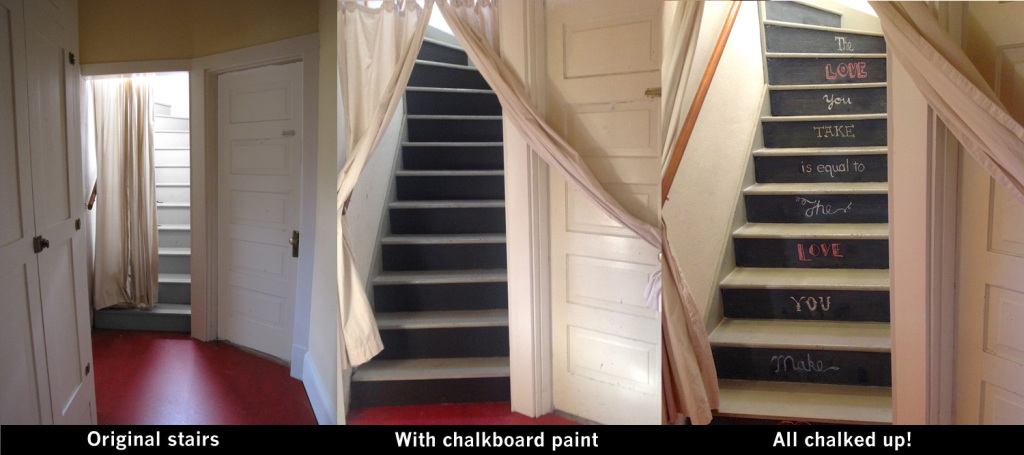
You can see in the photo what my stairs looked like. Plain gray, with a curtain to hide them (and keep the heat downstairs when necessary). They look better in the picture than they did in reality. In reality, they are so dull, old, and dirty-looking. No amount of cleaning makes them look nice.
Redoing them is an annoying task — finding the right floor paint, and the right color, and setting up a gate to keep the cat off the stairs, and keeping off the stairs myself while the paint dries. I just haven’t had time to think about it much. But I realized that I could just decorate the risers — the front part of each step — without much fuss. I could draw on them, paper them, paint something, whatever. Eventually when I redo the whole stairway — which I still need and intend to do — I can remove or paint over whatever I do now.
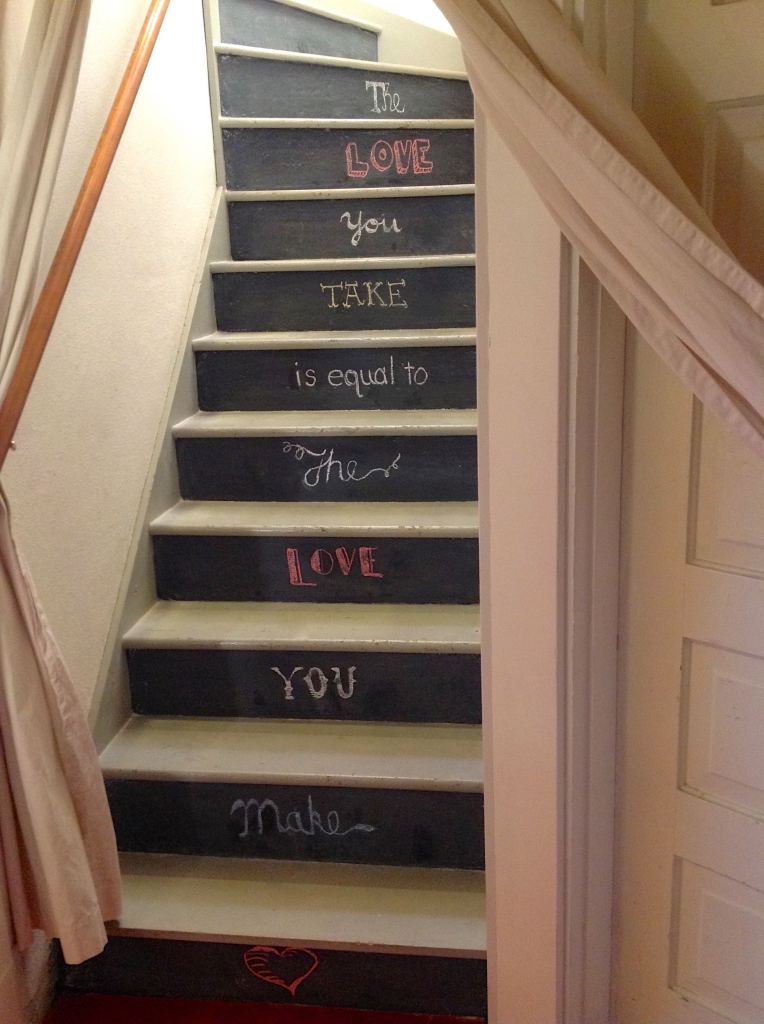
I thought about lettering something interesting on each riser. A quote of some kind. And then, I remembered chalkboard paint. Ah, chalkboard paint. So fun. And, at the moment, so trendy. One thing led to another, and a few days later, this was my stairway:

The risers are now chalkboards, and I can change the lettering any time I like. Or I can just draw things on them. I could even write reminders on them like “Don’t forget to pick up the laundry while you’re up there!” if I wanted to.
The top of each step is still the ugly old gray paint. But even with the dingy grey steps and white walls, the stairs look 100% better than they did before, and the whimsy of my chalkboard steps makes me smile whenever I see them.
 It’s also a fun place to practice some chalkboard lettering styles. Chalk is pretty forgiving! Some of these words were easy to write, and others involved some erasing before I was happy with them.
“Chalkboarding” your staircase is easy. I used Rustoleum’s chalkboard paint in a quart can (not the spray paint). The paint goes a very long way. This is the second project I’ve used it on, and I am maybe 1/4 way through the can. Ideally you are supposed to use a foam brush or roller to get the smoothest finish, but I just used a normal brush. (Living dangerously, I didn’t bother taping around the steps, either. It worked out fine, but unless you like to live as dangerously as I do, you might want to tape some paper or plastic down.)
Clean the surface you are going to paint. If it’s rough, sand it or your writing surface won’t work well. (I didn’t need to do this — the surface is a bit rough here and there, but it seems to be OK.) Paint a coat of chalkboard paint. At this point, you’ll probably ooh and ahh at the deep, rich black finish. That is, if you use black paint. Chalkboard paint really does look nice when it hasn’t been chalked on yet!
Wait four hours before the next coat. Then give it at least one more coat. Two, if you can. (I used one.)
Now comes the hard part. If you’re like me, you want to start writing on your new chalkboard steps! But you can’t. You have to wait three days for the paint to cure. Three days! If you don’t do this, I’m told that the words you write on the board might be permanent. And you don’t want your steps to be that unforgiving, do you? So be patient, and wait.
In three days, break out the chalk. But, wait! Don’t write yet. First, you have to condition the chalkboards. (You may need a lot of chalk for this step.) Take some chalk on its side and cover each step completely with chalk. Then wipe the chalk off with a dry cloth, leaving a fine film of chalkdust on the surface. (At this point you lose that beautiful deep rich black color, but instead, the surface gets that slightly cloudy chalkboard look. Don’t stress out about it. That’s what it’s supposed to look like!)
Now you can write on it! Be a bit gentle with it at first while the paint continues to cure a bit more. What will you write on yours? I started with a Beatles lyric. But I have other ideas — poems, famous quotes, Burma Shave ads…
Eventually, I’ll paint the walls and the steps and brighten this area up a bit. I may or may not keep the chalkboard risers at that time. But in the meantime, I have something I can enjoy, in a part of my home that always depressed me before.


Amazing!
Wendi, we’d love to see you share this on Hometalk!